


ExcelRC DasMikro DSK-305 FUTABA T-FHSS NANO RECEIVER
DasMikro
SKU: 2990000134486


Description:
This is the first Futaba T-FHSS compatible micro surface receiver in the world. It offers full 4-channel support in ultra-light weight and micro size. It is ideal for micro racing cars.
The images may not exactly match the product due to product revisions.
Features:
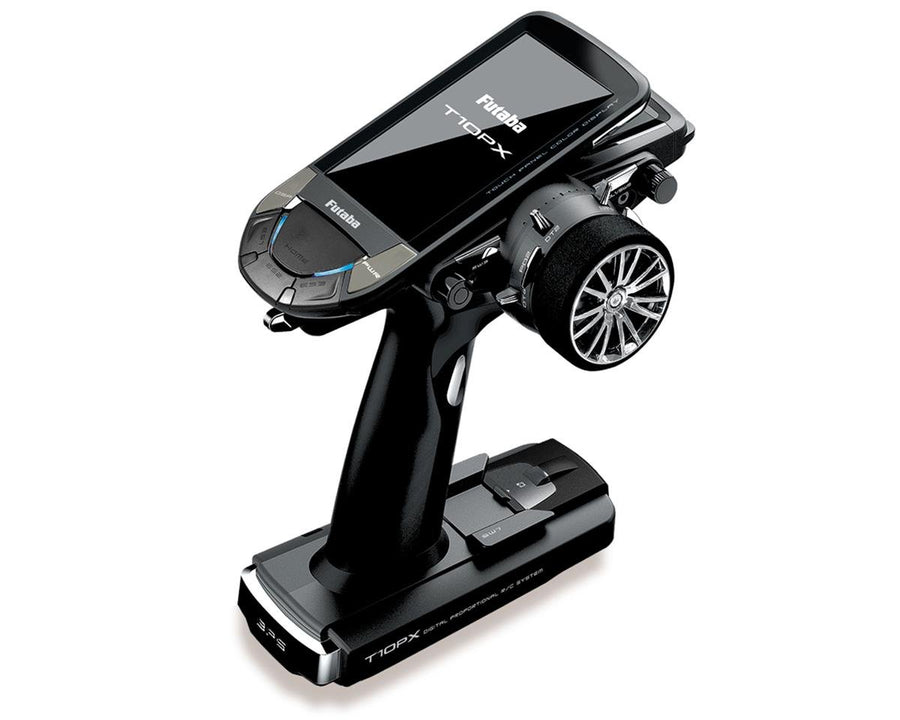
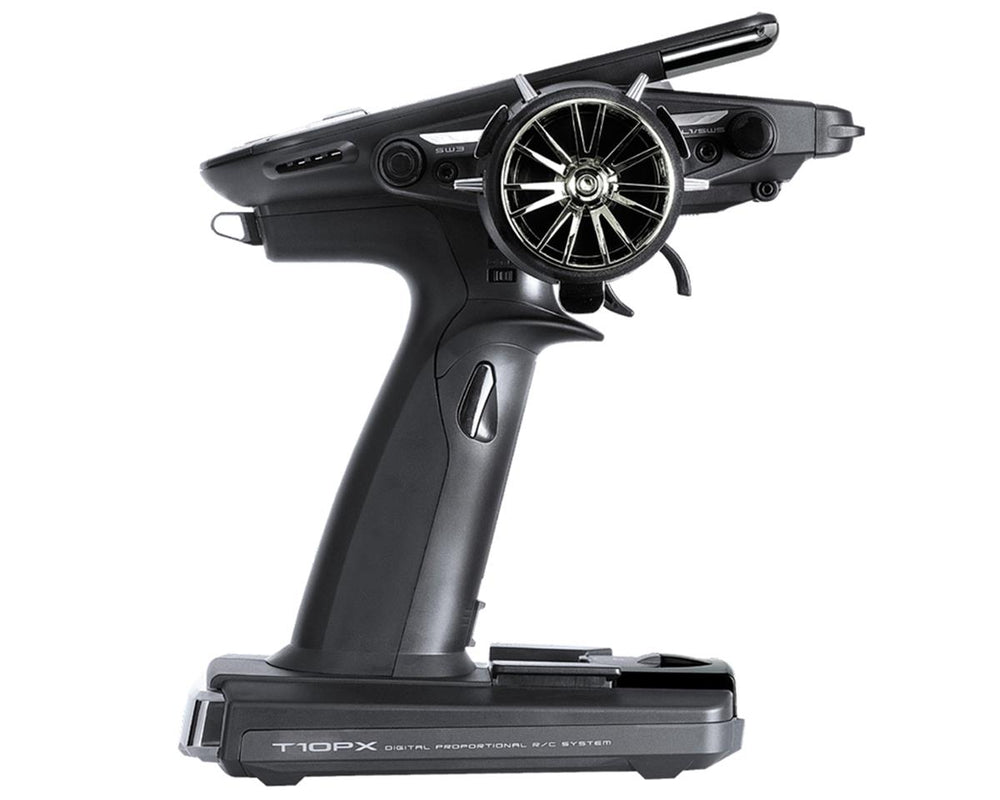
Compatible Transmitters:
Futaba 7PX 4PX 7XC 4GRS 4PV 4PM 4PLS Transmitter Two-way High Speed Receiver
Package Includes:
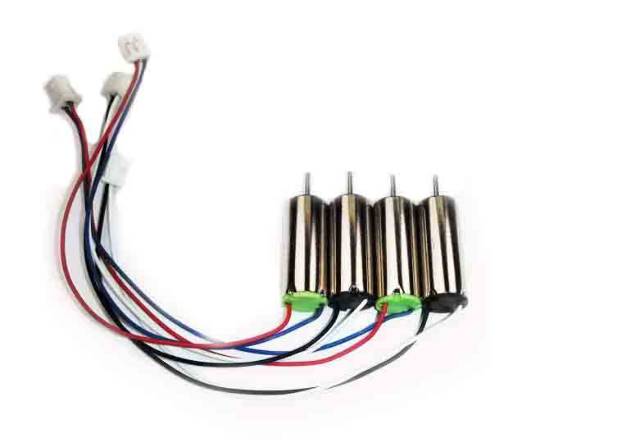
1 x Receiver
2 x 1.5mm 3P JST plug with cable
Bind and Failsafe:
Power on your transmitter and receiver. Adjust transmitter each channel to the exact position you want to have in failsafe mode. Transmitter set to pair mode. Receiver led should be on. Long press the pair button. After around 2 seconds the LED will turn to fast flashing first then turn to on status again. Now the pairing is done and the failsafe data is saved. Power off the transmitter and receiver then power on again then the receiver will work.
Link Procedure:
Each transmitter has an individually assigned, unique ID code. In order to start operation, the receiver must be linked with the ID code of the transmitter with which it is being paired. Once the link is made the ID code is stored in the receiver and no further linking is necessary unless the receiver is to be used with another transmitter.
1-Place the transmitter and the receiver close to each other within half (0.5) meter.
2-Place the transmitter into the linking mode and turn on the receiver
3-During countdown, push the receiver tact switch for approximately 2 seconds. The LED will begin to blink red. After the receiver LED switches from blinking red to green - red steady light, If the transmitter and receiver are linked normally, set the power switch to the OFF position and then turn on the PWR ON position. If the receiver LED lights green, linking was succeeded. Actually check servo operation.
Normal mode / High Speed mode:
The " Normal mode " accepts any type of servos or the peripheral. The "High Speed mode" only accepts the digital servos, including BLS series, and most peripheral equipment such as the brushless ESCs. Please pay special attention to the information contained within this manual and transmitters manual to have a pleasant running experience.
Subscribe today and keep up with the latest news!

